
Styles dictate the appearance of your cells in Grid 3. It is possible to manually set the appearance of each cell individually, but for large grid sets this can be very time consuming. You can use Styles to set up the appearance for a type of cell, and then it apply it to all other cells of the same type.
Most Smartbox grid sets are styled to use the Fitzgerald key, but if you want to use a different system (such as colourful semantics), styles will be the easiest way to change everything over.
Creating a New Style
To begin with, it is good practice to create some styles you know you will need when making your grid set.
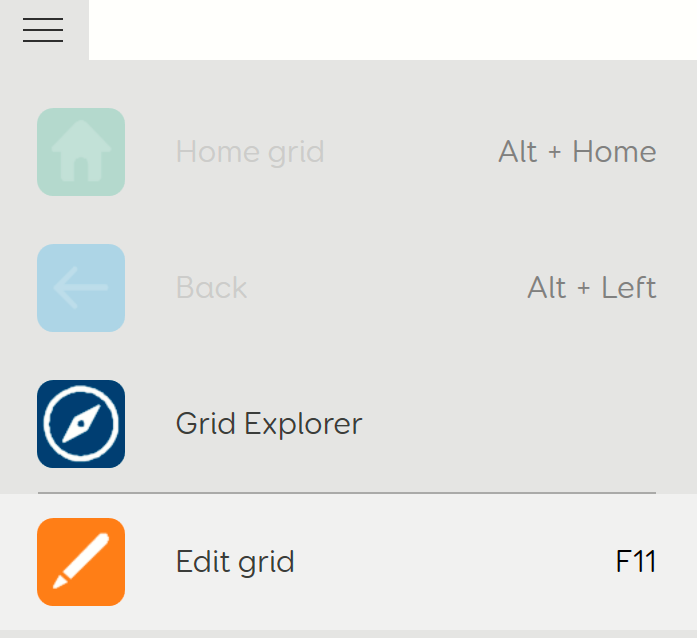
- Open your grid set into Edit mode (three lines top left corner – Edit grid)
- Browse to the Style tab at the top of the screen.

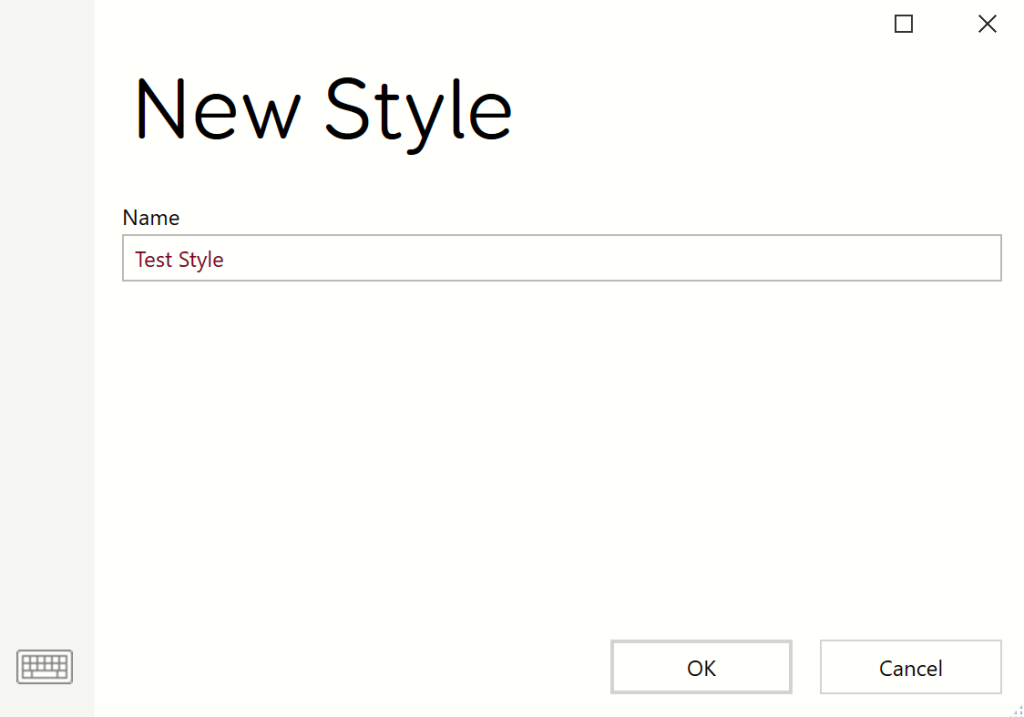
- Select the New Style button. A new window will appear, enter a name for your new style and press OK.

Note: Grid 3 comes pre-packaged with some example styles for different commands (e.g. Vocab cells and Jumps). These will not appear in your Styles list to begin with, but will appear when you add a cell of that type. These can be modified to change the default style for that type of cell.

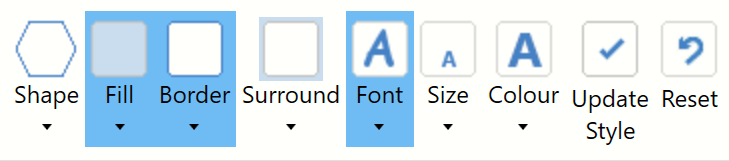
We can the modify the appearance of our new style using the settings to the right of the Styles list. You can modify a large range of options to make the style look how you need it to.
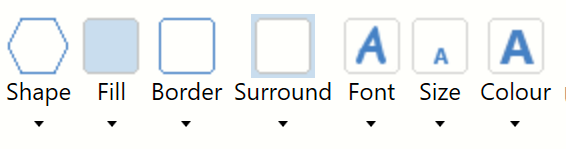
Once you are happy with the way your style looks, select the Update Style button to save your changes to your style.

Using your style on a new cell
Once you have your style or styles created, you can apply them to any new cell you create to instantly change the appearance.
- Open your grid set into Edit mode (three lines top left – Edit grid)
- Create a new cell (select an empty cell and add your chosen command).
- Once your cell has been created, browse to the Style tab at the top of the page.
- Using the Styles list, select your new style.
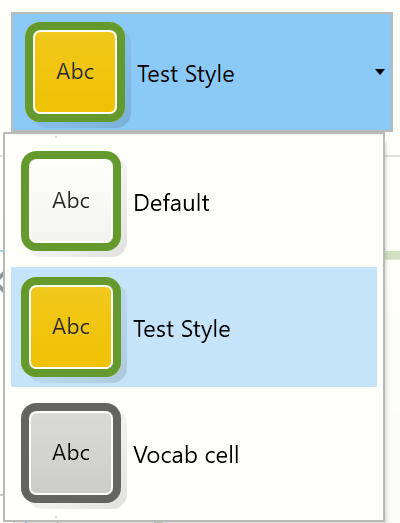
The appearance of your cell will change to match your chosen style.
Making changes to your styles
In some cases, you may wish to change the appearance of all the cells assigned to one of your styles, without going through every page and changing it manually. You can do this by making a change to the style and updating it:
- Open your grid set into Edit mode (three lines top left – Edit grid)
- Highlight one of the cells with the style you want to edit and browse to the Style tab at the top of the page.
- Using the style options, make your changes to the style.
- Select Update Style.

Your style will then update with your new changes, and every cell in your grid set with that style, will automatically update to show your changes.
Overriding your style for specific cells
Whilst styles are incredibly useful to make cells appear consistent across your grid set, in some cases, you may wish to highlight or modify one or two cells in particular, without creating a whole new style. Grid 3 allows you to override your chosen style without changing it:
- Open your grid set in Edit mode (three lines top left – Edit grid)
- Highlight the cell you want to look different from the default style and browse to the Style tab at the top of the screen.
- Use the style options to make any changes to the appearance of the cell.
- Do NOT select Update Style.
You will notice that the options that we have edited will be highlighted inside the Style tab, but our style will not have changed in the Styles list. This shows that we have overridden the style settings for this particular cell only, rather than for the whole style.
Last Revision: 06.01.2022