
The Grid 2 allows you to hide cells. This allows more advanced cells to be hidden away until the user is ready to learn about them or to temporarily hide content whilst you focus on something else.
- Browse to Edit in the menu bar at the top of The Grid 2 and select Editing Mode.

- Select the cell you wish to hide, and select Hide Cell from the Cell Options to the left of the grid.

- The cell will now appear greyed out in Editing Mode. Once you have exited Editing Mode, the cell will not appear to the user.

Note: You can also select more than one cell at once to hide. Hold the Control (CTRL) key down on the keyboard, and drag over several cells to select them. You can then select the Hide Cell option on the left.
How to ‘Unhide’ a Cell
There are two ways of doing this. If you want to show one cell at a time, follow these steps:
- Browse to Edit in the menu bar at the top of The Grid 2 and select Editing Mode.
- Select the greyed out cell that you want to show, and select Unhide Cell from the Cell Options to the left of the grid.

- Exit Editing Mode and the cell will reappear.

Alternatively, you can display all hidden cells all at once. This is very useful if you have a large grid set, with lots of hidden cells on different pages.
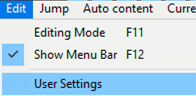
- Browse to Edit in the menu bar at the top of The Grid 2 and select User Settings.
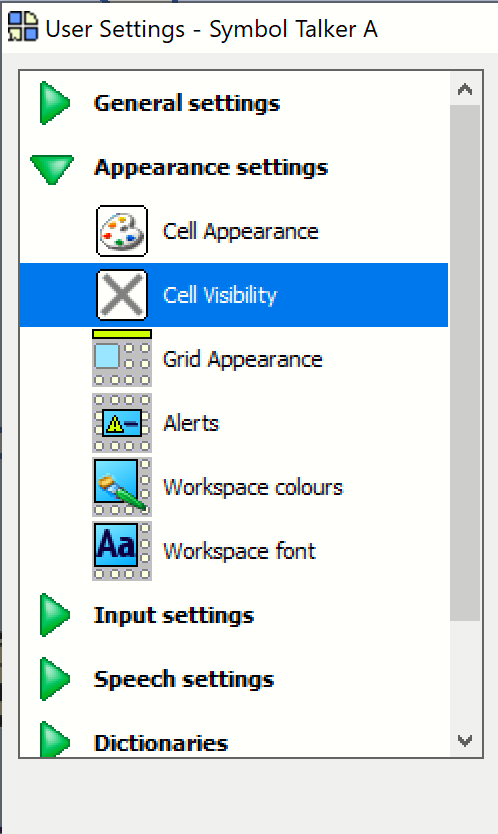
- When the User Settings window appears, select Appearance Settings, then Cell Visibility.
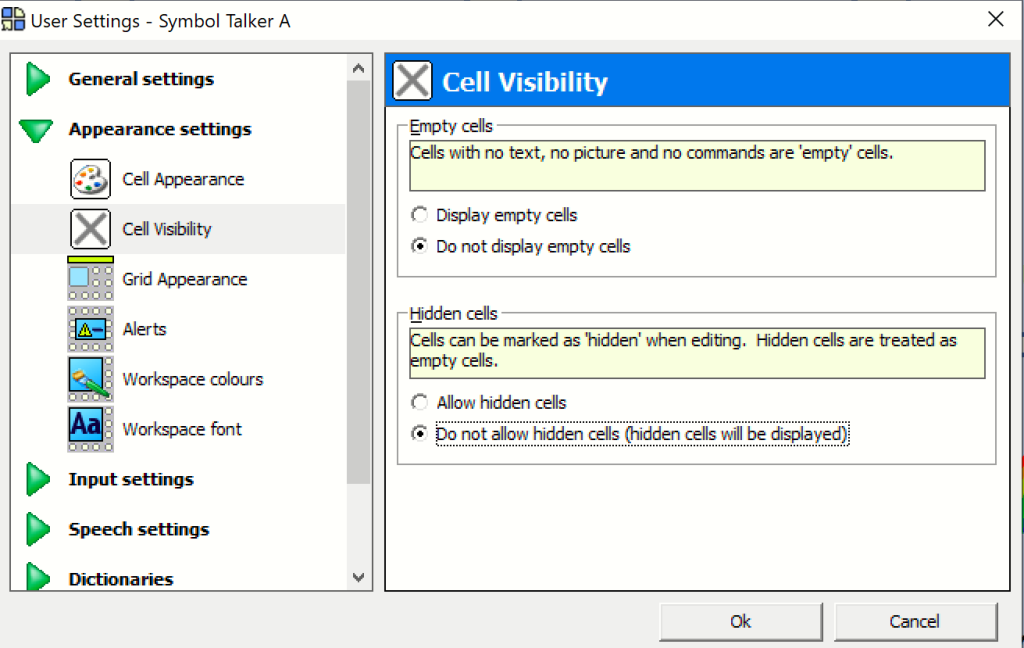
- Select the option Do not allow hidden cells, and any previously hidden cells will now be displayed. Select Ok to apply the change.
Last Revision: 25.10.2021