
Each user in The Grid 2 has a list of contacts for sending email and SMS messages.
In addition to their name, email address, and mobile phone number, you can save a photo for each contact.
Editing your contacts
You can edit the information for any content by:
- Open the Contact page on your chosen grid set, browse to Auto content in the menu bar and select Contacts.

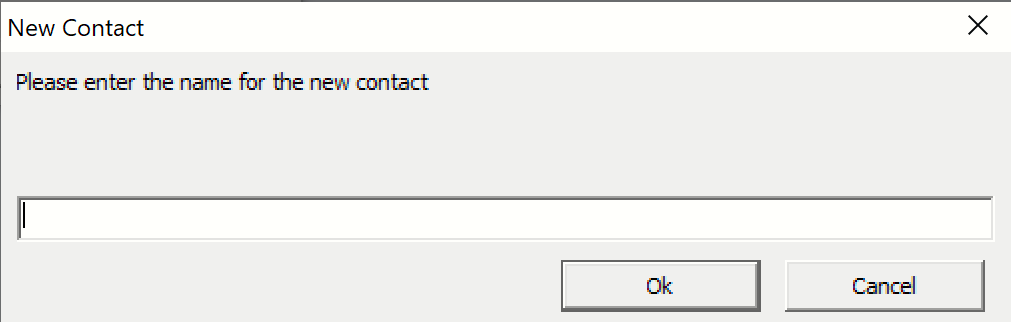
- Select Add New Contact and type their name.
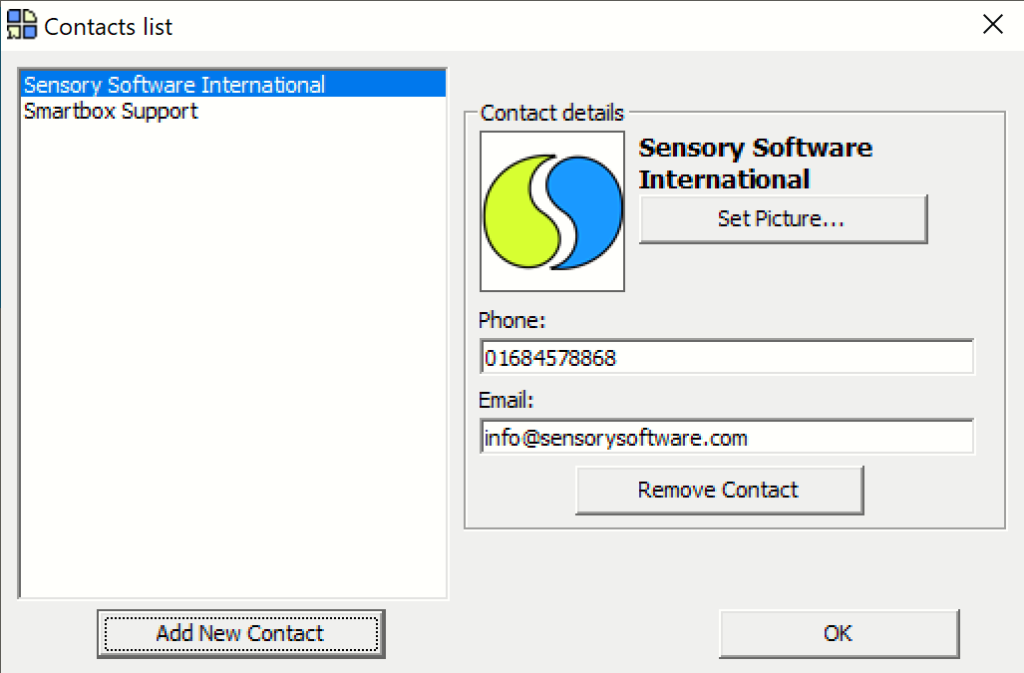
- Enter the phone number and email address for the contact.
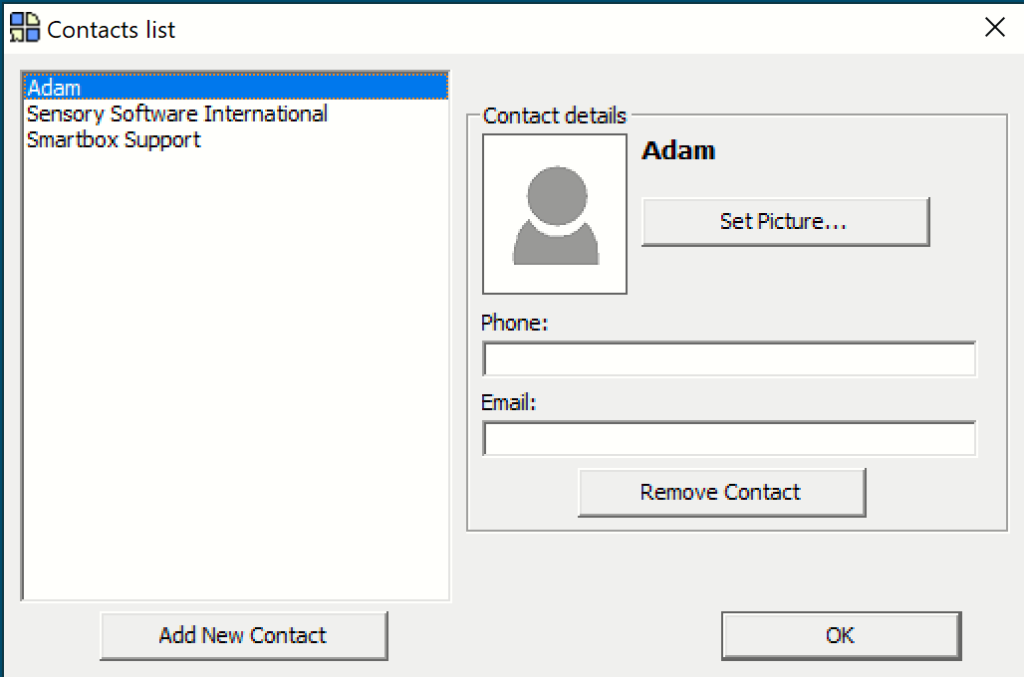
- Press Set Picture to select a picture for the contact.
Viewing contacts in The Grid
There are grids available for sending emails and SMS messages, and you will see the contacts showing in these grids automatically.
To include contacts in a grid that you have designed, you need to add in auto content cells.
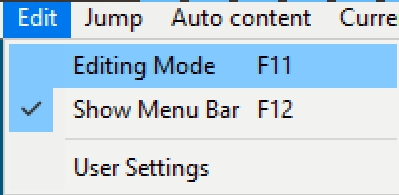
- Open your chosen grid set, browse to Edit in the menu bar and select Editing Mode
- Select one or more cells to display contacts in.
Tip: you can select multiple cells by holding CTRL on a keyboard
- Select Auto content cell from the Cell Options (on the left hand side).
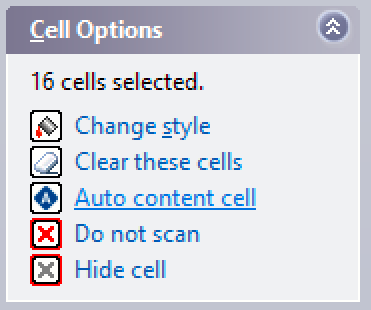
- Select Contacts from the menu that appears.

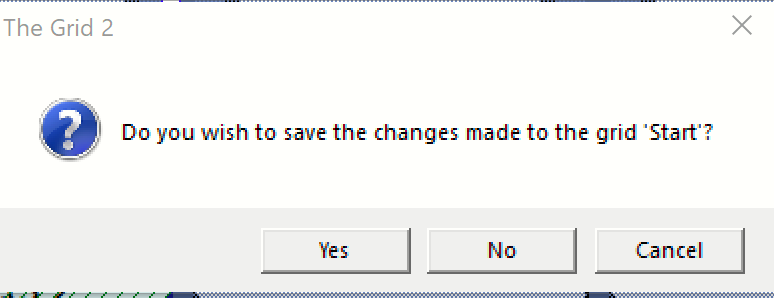
- Select the red circle icon from the menu bar to finish editing. You will be prompted to save your changes. Select Yes.

Your contacts will now be shown in the auto content cells. When writing an email or SMS message, you can now select the recipient(s) directly.
More contacts cell
If you have more contacts than fit onto a grid then you may want to add a More contacts cell to scroll through your available contacts.
- Open your chosen grid set, browse to Edit in the menu bar and select Editing Mode

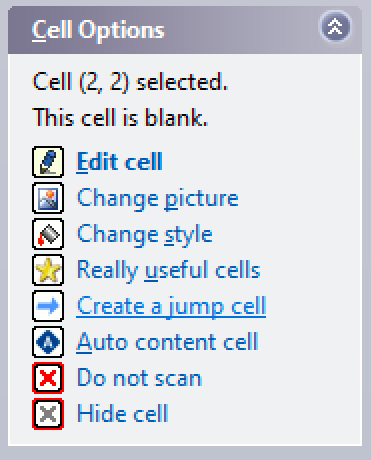
- Select an empty cell and press Edit cell from the menu on the left hand side.
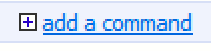
- Select add a command.
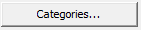
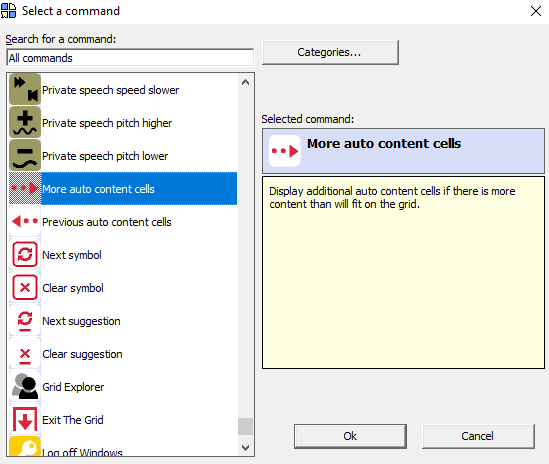
- Press the Categories… button and select All commands.
- Scroll down to the bottom of the list, select More auto content cells and press Ok.
- Change the Cell Text to More or More Contacts and press OK to complete the cell.

- Select the red circle to finish editing. Select Yes when prompted to save changes.
You can now click on the cell to scroll through your contacts.
Self-editing your contacts
You can edit your own contacts, add people to the contacts list when you receive an email or SMS, change contact details, and remove contacts without going into Edit mode.
The following commands are available for editing contacts (in the Contacts category) and can be added to your grid set:
- Contacts workspace – change to the contacts workspace
- List contacts – show the list of contacts
- Up / Down – scroll though the list of contacts
- New contact – add a new contact to the list
- Edit contact – view the details for a contact
- Save contact – save changes to a contact’s details
- Delete contact – remove a contact from the list
- Contact name – change the contact’s name
- Contact email – change the contact’s email address
- Contact phone number – change the contact’s phone number
You will also find this command under the email and SMS categories:
- Add to contacts – add the sender of an email / sms to the contacts list.
See the Contacts grid in the Star Talker user (select the orange contacts icon at the bottom) for an example of user-edited contacts.
Last Revision: 26.10.2021