
Easywave (ELDAT) has the ability to control a plug based alarm system. This can also be paired with Grid 3 to allow you to trigger it via a cell. The alarm can either be stopped via a cell in Grid 3 or can be left for a carer to answer using the plug itself. The pairing process is very similar to the ELDAT UK mains socket, but requires some specific configuration.
Note: the ELDAT alarm should not be the sole means of getting assistance in the event of an emergency. Other methods of alarm should be available.
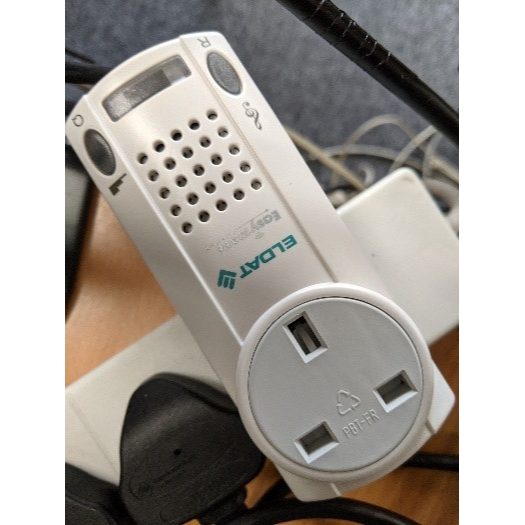
- Plug the Eldat Alarm into a free socket.
- Open Grid 3, browse to the menu bar (three lines top left corner) then Settings – Environment Control.


- Ensure the ELDAT transmitter is connected and showing inside Transmitters.

- Add a new accessory (Add button at bottom of Environmental Control page) and select Socket.
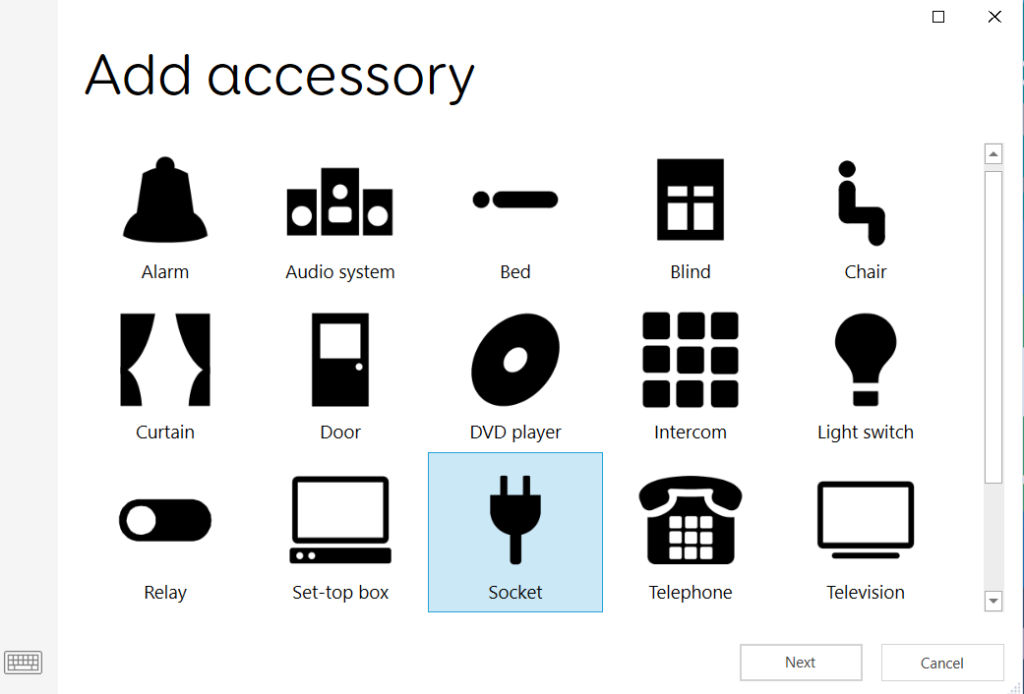
- Name the socket and select Easywave as the transmitter.
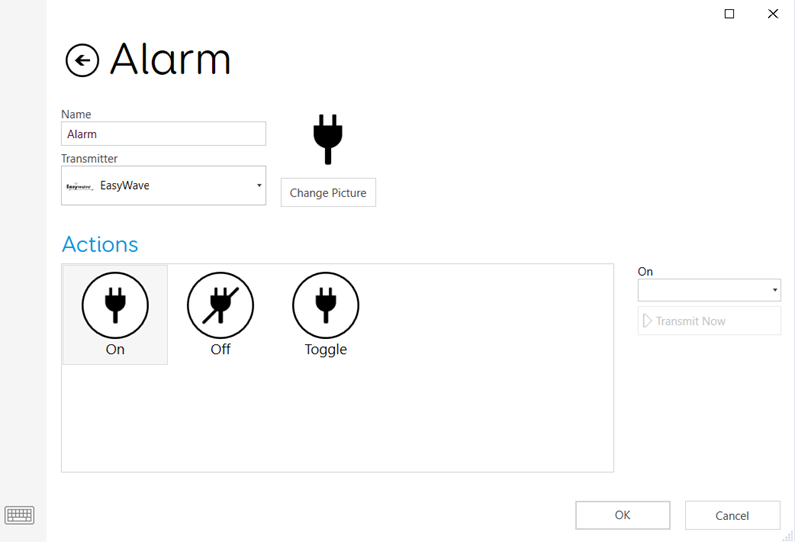
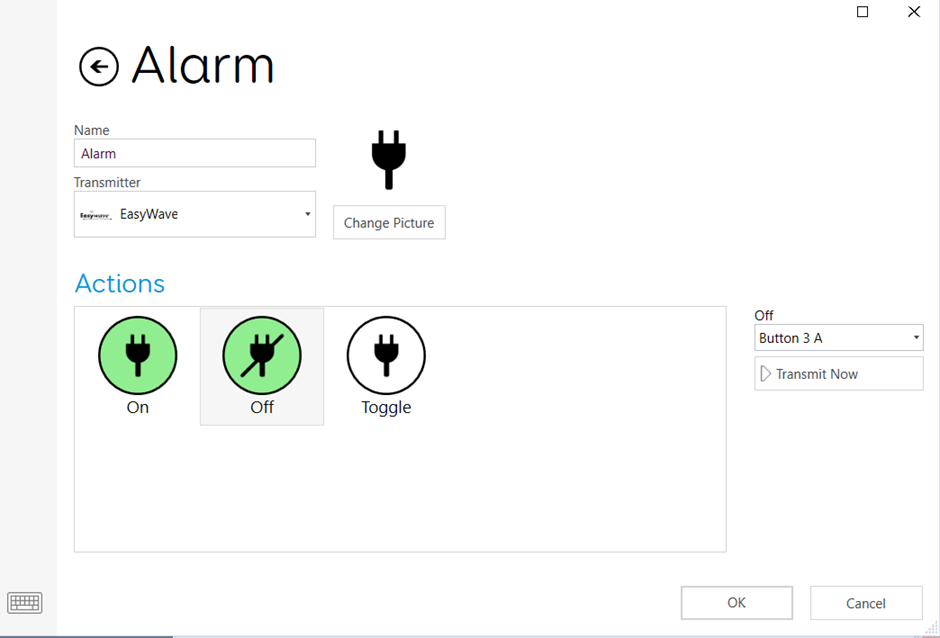
6. Highlight the On button and select a button (ensure it ends in A) from the drop down menu on the right hand side. Note: if you already have other ELDAT accessories paired, you will need to ensure you select a button which is not being used elsewhere. If you are unsure, use a button further down the list.

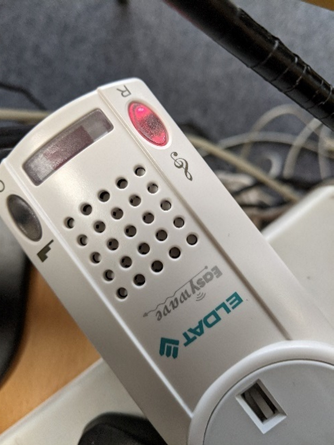
7. Press and hold the R button for 2 seconds – until the light on the button blinks and you hear a beep – then select Transmit Now on the Grid 3 page. The light will go solid and you will hear a second beep, and then the light will continue blinking. When the light starts blinking, click the R button again.
8. Highlight the Off button and select a button ONE HIGHER in number than the previous selection (e.g. if 1A is selected for on, use 2A for off). Then repeat steps 6 & 7 using the Q button on the plug instead of R.
9. Press Transmit Now on your On button to ensure the alarm triggers, then press Transmit Now on your Off button to ensure the alarm is answered.
Last Revision: 14.01.2022