
Switch elimination is a method of switch access where each grid is split into groups of two or four, and an individual switch is assigned to each group. The selected group is then iteratively split again, until a single cell is selected.
Setting up switch elimination
- Select the menu bar (three lines top left corner) – Settings – Access – Switches.
- Choose Switch elimination from the Activation drop-down menu.
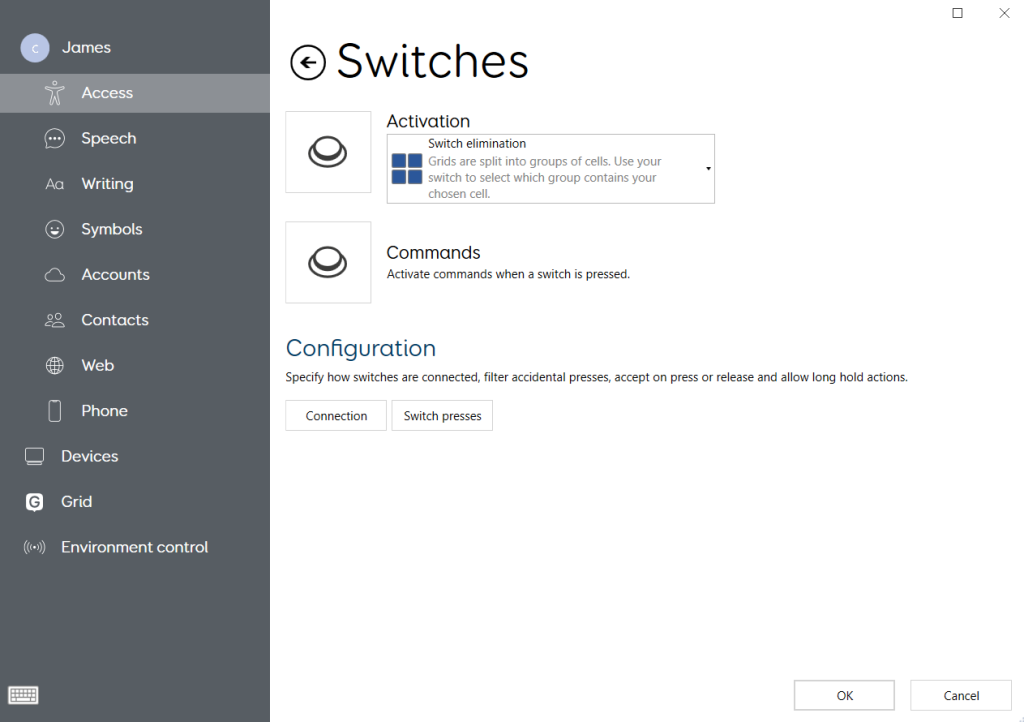
- Choose the Activation button to then refine the elimination settings.

- Each cell grouping will need to have a unique switch assigned. These are set through the “Group 1”, “Group 2”, etc. drop-down menus.
Each group can be assigned a custom colour for highlighting using the coloured square shown alongside each group’s setting.
Elimination methods
There are three options for the elimination method:
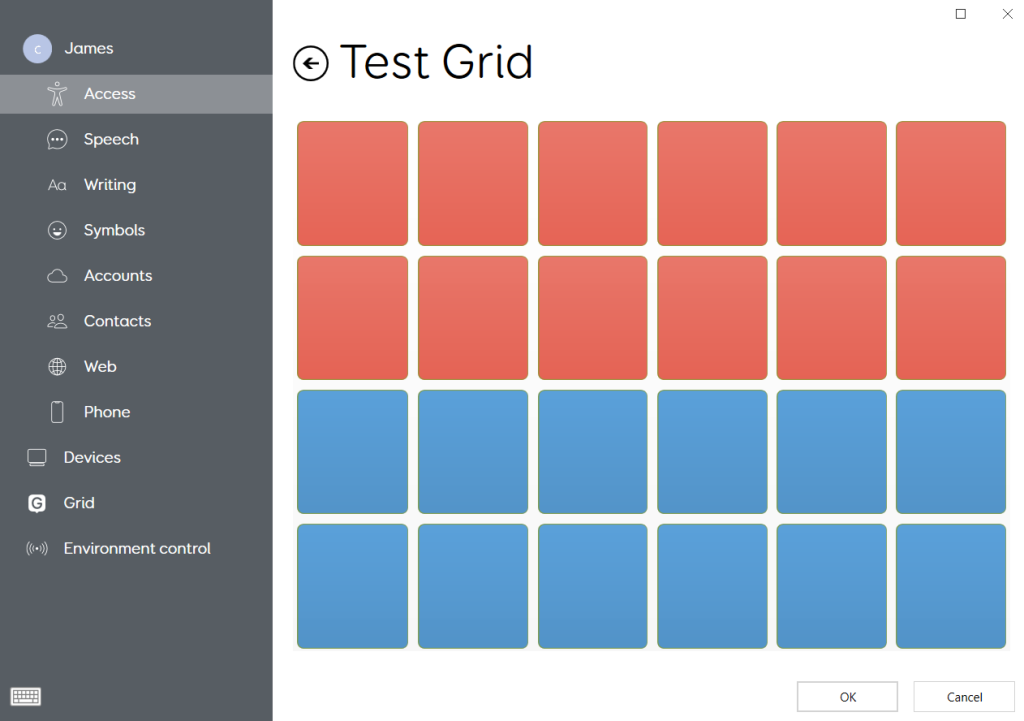
- Two way (top/bottom first) – this splits each cell group into a top and bottom half
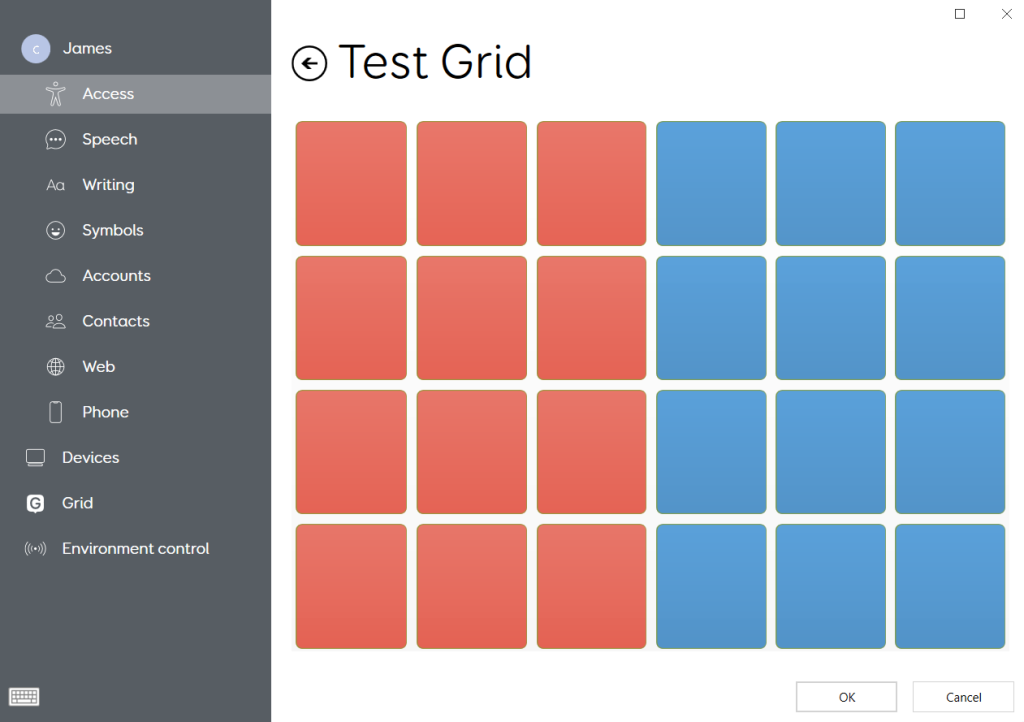
- Two way (left/right first) – this splits each cell group into a left and right half
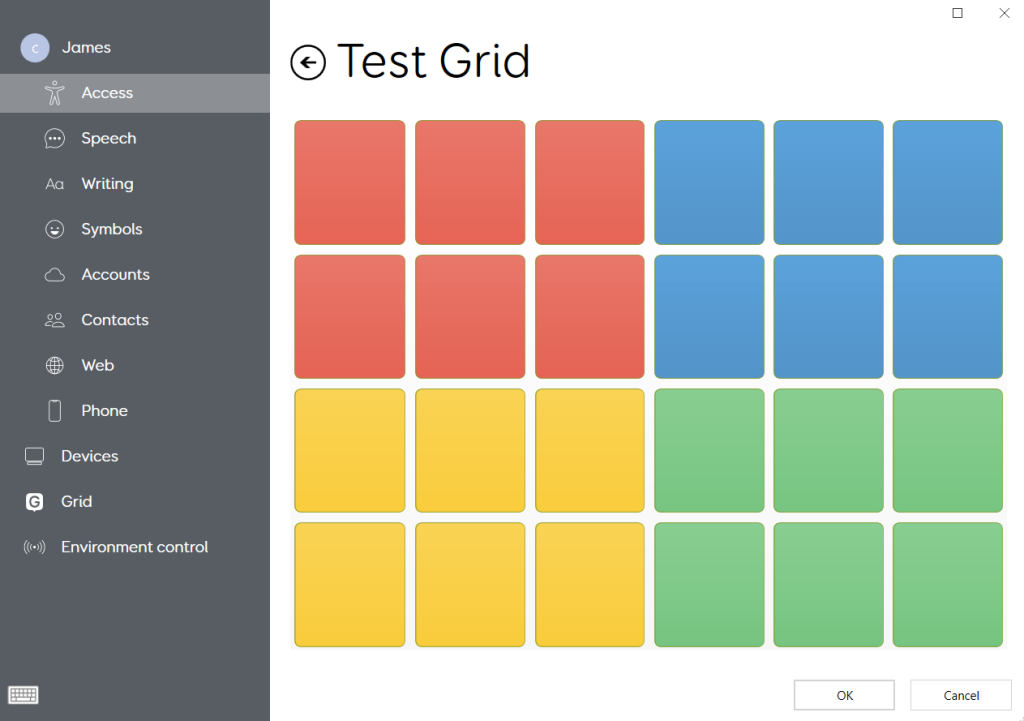
- Four way – this splits each cell group into four sections
Additional settings
There are a few extra settings available when using switch elimination. The behaviour for each of these are described below:
Highlighting
- There is a drop-down menu to set the highlighting method. Colouring the whole cell, or just cell borders.
- Play sound when activated – When enabled, this plays a ‘click’ sound when a cell is selected.
- Grey out eliminated cells – When enabled, after a cell group has been selected all cells that can no longer be reached are greyed out.
- Pointer control colour – This is the colour for the indicators with Grid’s glide/radar mouse within computer control grids
Note: that switch elimination is not compatible with auditory scanning.
Further options
- Skip over empty cells – When enabled and where possible, Grid will ignore empty cells when creating a group.
- Stop – Assign a switch to completely cancel the current scan.
- Back up one level – Assign a switch to step back one level within the scan. E.g. if group 2, then group 1 were chosen, back up one level would ‘undo’ the selection of group 1.
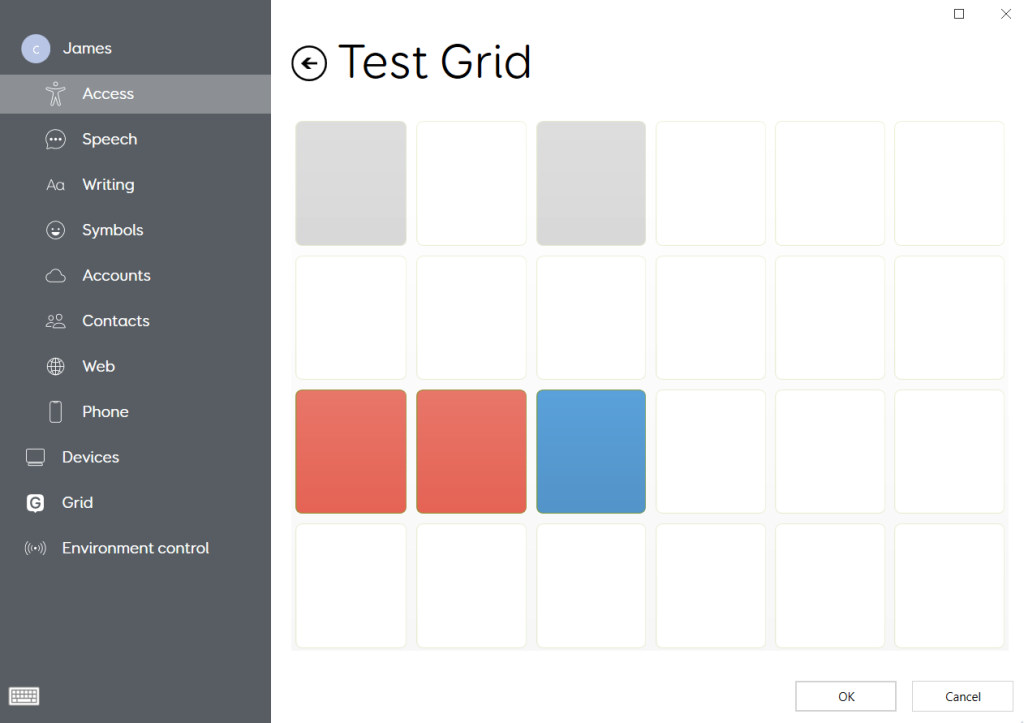
Testing the settings
Grid’s access settings will always offer a Test button that allows you to try out your settings before you select OK to save the changes. A cell that has been selected will change colour to a dark grey.
Last Revision: 05.01.2022